CREATE AN ITEM

Artificial intelligence operates with a dataset. This information is essential for the intelligence to train machine learning models, thus producing good results.

In the case of Neural Fashion, the dataset consists of items, whether they are clothing pieces or models. To achieve good results, it is crucial that these items are faithful to the original object and of good quality.


Below, we show you how to upload an item to achieve the best results.
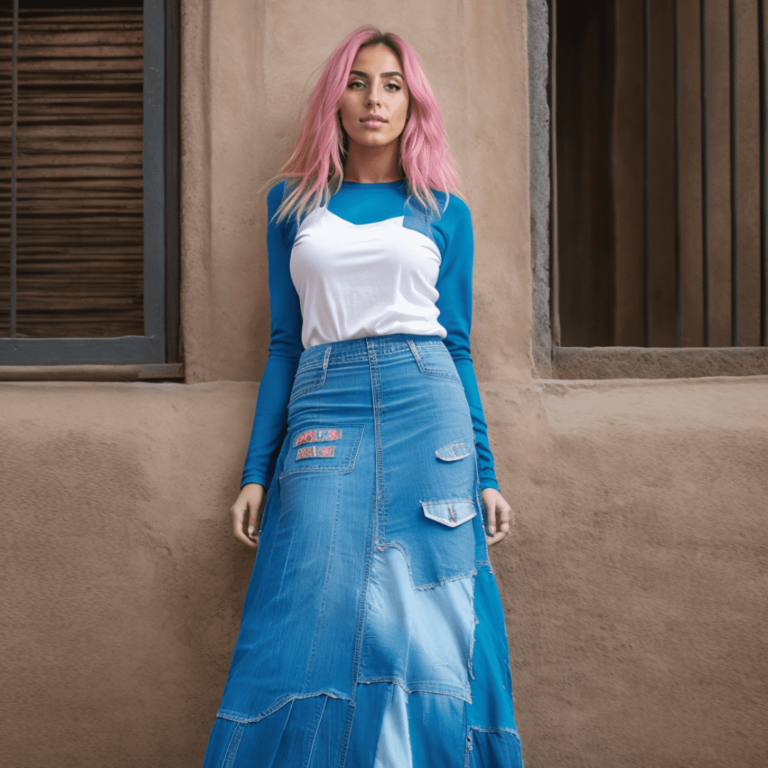
FIRST STEP. PICTURE THE ITEM

The most important step to create a good item is make accurate pictures who define the shape, colour and texture of the real garment.

Let’s see how we must take those pictures: 

  • Ilumination: Indirect light is the best option! Avoid images that don’t respect the real color of the item (avoid shadows). 
  • Model: Use multiple models (people) for the same item of clothing.

*If it is not possible to take photos with two different models, it is  important to change the outfit of the model (different shoes, pants,…). 

  • Shots type: Take a variety of shots. We recommend you to use these different types of shots: Frontal look, 45 degrees look, lateral look and flat lay garment .

*It is not necessary to include the flat lay garment shot, you can obtain good results without it. 

  • Ratio: select the 1:1 (square) ratio. It is the only ratio that our platform accepts!
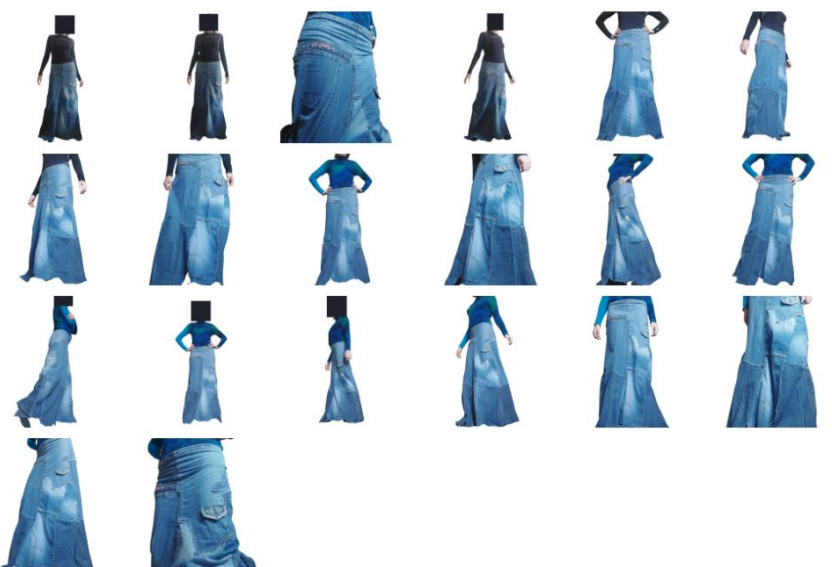
  • Selection: To get good results, you should take between 15 and 20 photos. It is important to include 5 images showing the total body and face of the model, the others should be focused on the garment.

It doesn’t matter what device you use to take the photos (smartphone, digital camera) as long as it gives you good quality results. You can even use the frontal camera of your smartphone, if there’s nobody to help you out. .
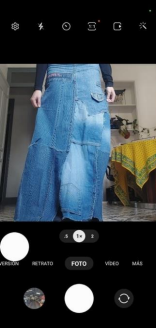
Capture of camera set-up

SECOND STEP. REMOVE THE BACKGROUND

Once you have selected the correct pictures, it is time to remove the background so the AI recognizes better the garment. You can use any program you desire to make this step (there are free webs). 

You can also create a black square to cover model’s face on the total body pictures (you can also make this step on the advanced options when uploading an item)

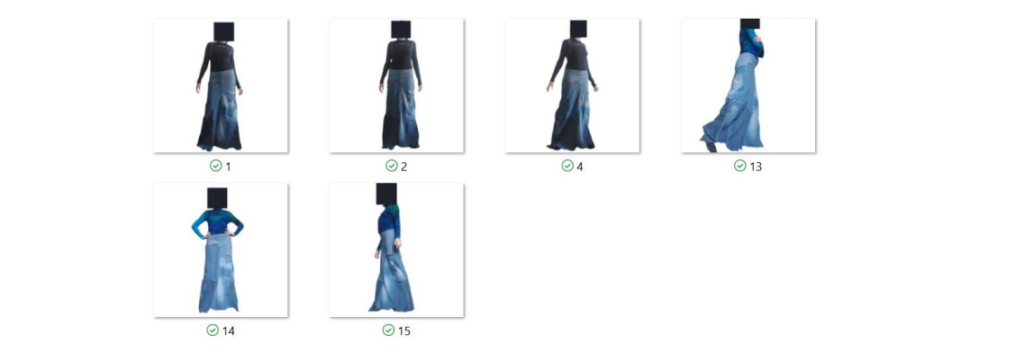
Make sure that the resulting pictures still keep the 1:1 ratio. 
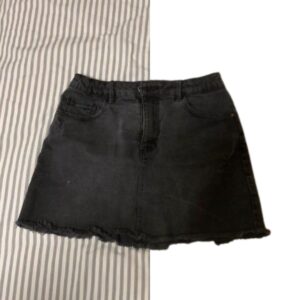
 

Left side: picture with background / Right side: picture without background
Example of the selected resulting pictures of an item

THIRD STEP. CREATE AN ITEM ON THE PLATFORM

When you have the resulting pictures selected, it is time to upload the item on Neural fashion’s platform. These are the steps you need to make: 

  • Inside the items’ window, click to new item.

Introduce item information in the new window:
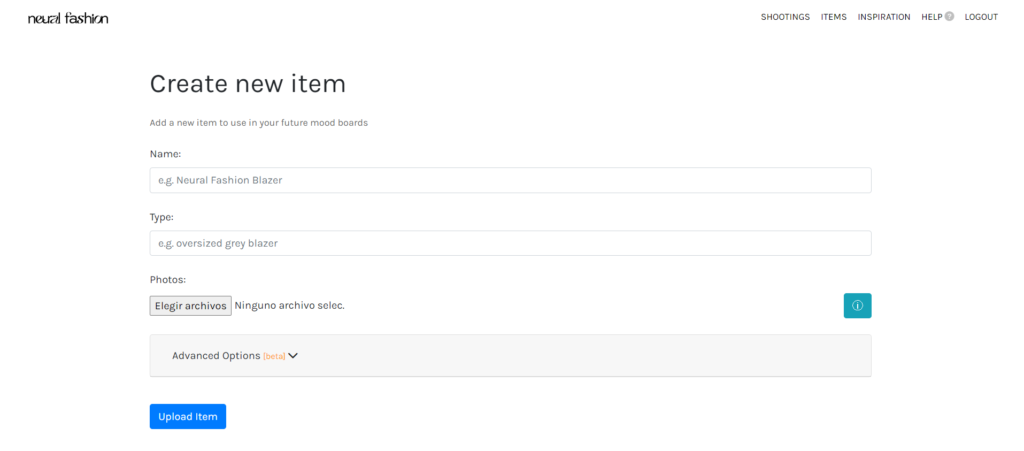
  • Name: Write an identifying name. A good tip is to add colors and materials adjectives (Example: blue denim skirt).
  • Type: Introduce an item generic type. The item type means the type of garment, if it’s a person or a shirt, T-shirt, dress… (Examples: person, grey blazer, stripped White shirt…) A detailed description will improve the results.
  • Photos: Upload the 15-20 images that you selected, following the previous image selection tips.

Advanced options (select the two options to get better results)

  • Censor identity: Adds a black square to the model faces, so the platform understands only the garment.
  • Create descriptions for each photo: It is a good way to train better the item. You will be able to write personalized descriptions once the item is created. 

Click “upload item” button. It must appear a green message announcing that the upload has been compleated.

FOURTH STEP. ADD DESCRIPTIONS FOR EACH PHOTO

Add a description for each photo pressing the pencil button:

  • Adding a description is not a must to create your item, however we recommend you do it, you will get more accurate results. The description should include all the elements that you don’t want to be learned by the platform (pose, background, fase, other garments, accesories…)

Example: 

Original description: “photo of ohwx blue denim skirt

Personalized description: “right side photo, woman wearing ohwx blue denim long skirt, arms crossed, identity censor, faceless, head out of frame, blue sweater, black shoes, white background”.

Information you must add:

  •  Indicate the type of shoot (Example: right side photo, frontal look…). Include “close-up” for those photos where the model’s face is cropped. 
  •  Name the gender or age of the model (Example: woman, man, child, mannequin…).
  • The “ohwx xxx” and the following words refers to the uploaded item, you must include the text inside the new description without changing any letter.
  • Describe the pose (Example: arms crossed, sitted, model posing…).
  • Include “identity censor, faceless, head out of frame” in those with censor identity.
  • Describe the other garments (Example: blue sweater, black shoes…).
  • Always include “White background”.
  • Click to Save Description

TIPS

Let’s take a look to some tricks to avoid bad results:
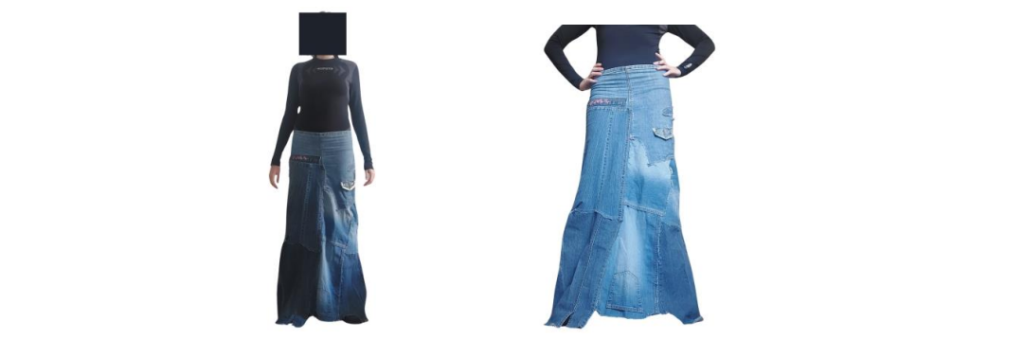
  •  Wrong ilumination: The first image doesn’t show the real color of the item. With the correct ilumination the platform will generate more accurate images of your item.
Left side: wrong ilumination / Right side: correct ilumination
  • Same outfit: If you use the same outfit, the platform will reproduce that look on shootings and will not train correctly your item. Try to take pictures using different bottoms or tops, but always including the garment item you want to replicate.
Pictures taken usign the same outfit
  • Similar shots: The model position on these shots is frontal. To achieve better results on your images you will need photos with different model positions, as 45 degrees, right and left profile or loose garment.
Different shots and poses
  • General shot: This selection only includes general views of the garment. To get a detailed item you will need to include close-up shots.
Selection with only total body shots

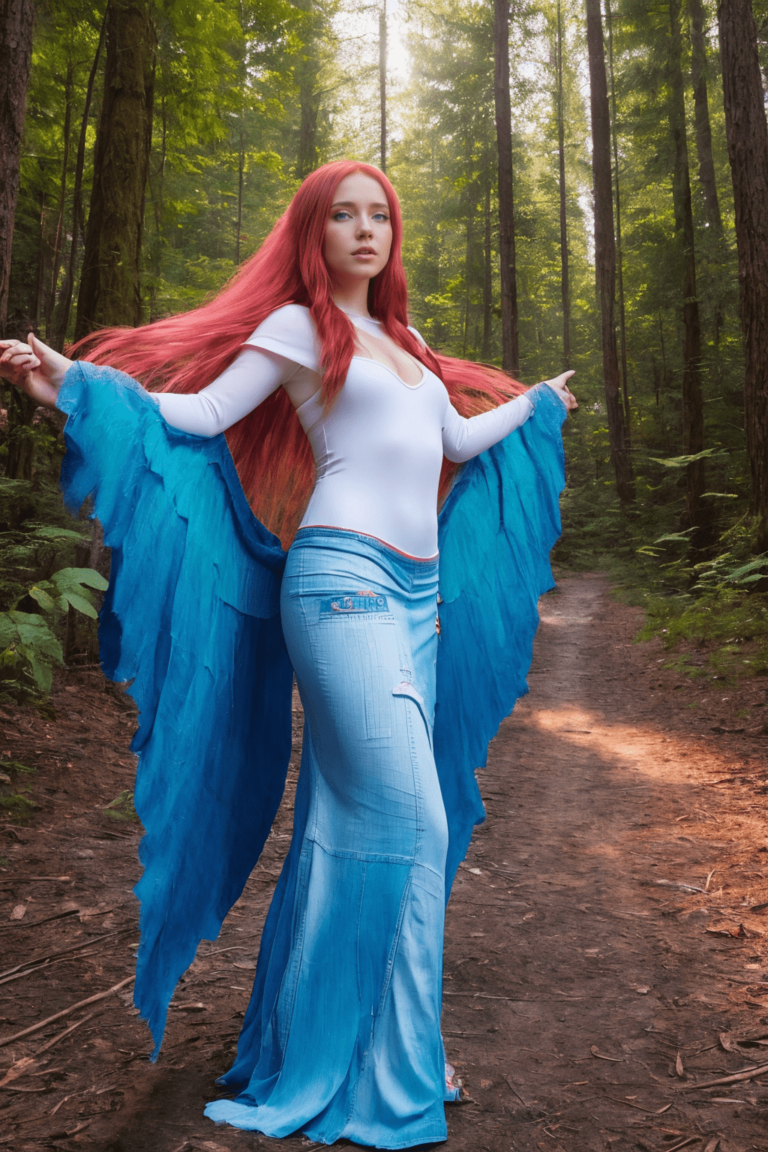
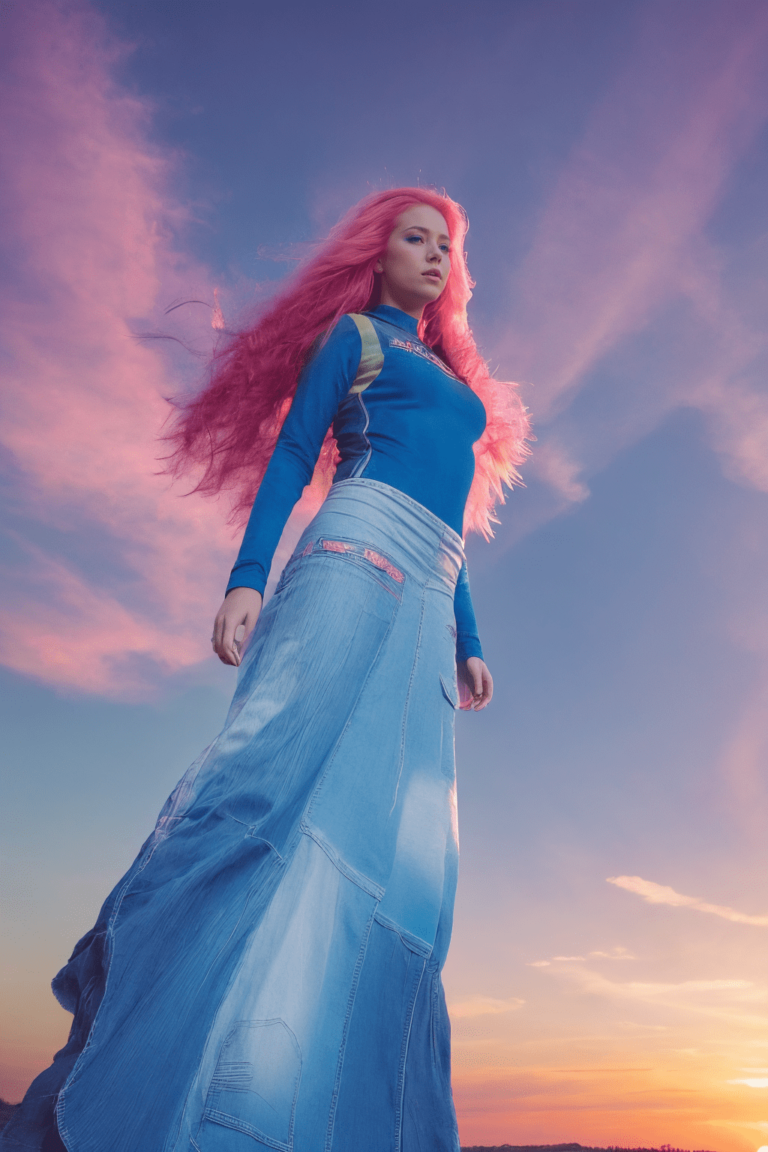
LET'S SEE SOME RESULTS!

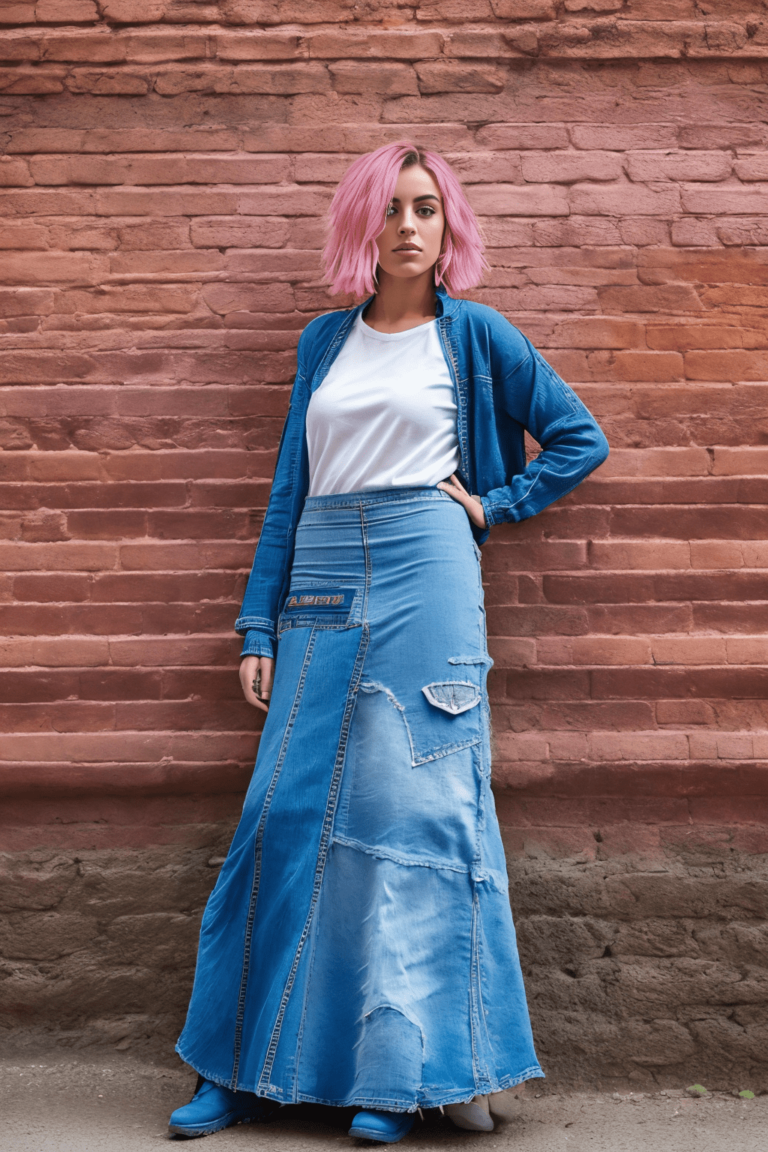
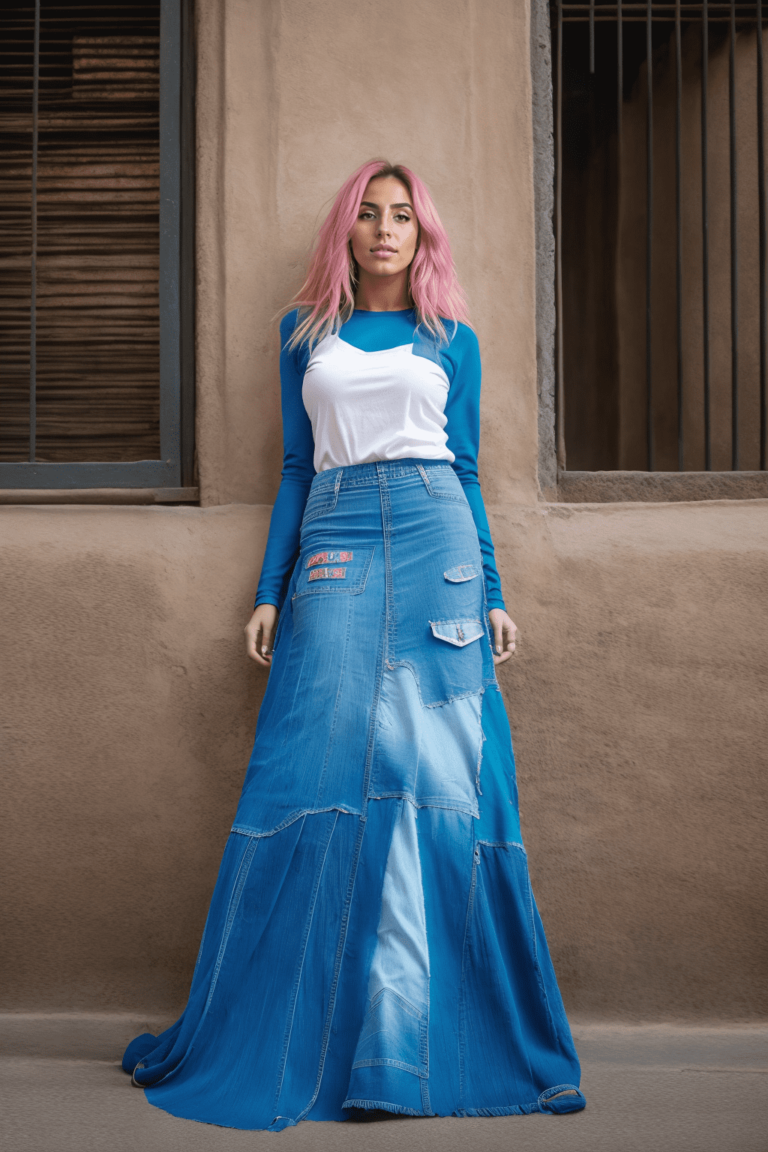
Once we have created the item, it is time to start creating our AI images. To make so, go to create a moodboard and learn step by step how to create them.
ANOTHER EXAMPLE

To gain deeper insight into the process, let’s explore another example of crafting an item, this time focusing on a ruffled blouse.

Once we have made the corresponding pictures, we must create the item. We have to include: the name, type and pictures. 

Also remember to select the advanced options.

In this case, we have selected 20 images that include: 

  • Total look pictures
  • Close-up detailed captions 
  • Frontal and lateral
  • Different outfits (white jeans, denim jeans…).
  • Same lighting (the pictures have the same colour which means they were done at the same moment maintaining the same set up.


See that all pictures keep the 1:1 ratio. We can also see that model’s face has been censored.

'