CREATE A SHOOTING
Once our moodboard has been trained (it appears the green check mark), it is time to start creating our AI images! Let’s see in this tutorial how to start creating with Neural Fashion’s platform.
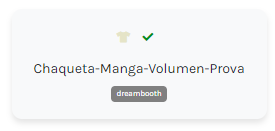
To begin creating, you should go to the bottom of the page and click “add more shoots to the mood board”. This button will bring you to a new site where you will be able to create your prompts.

Once in the editor site, you will have some features to adapt your campaigns:
With Neural Fashion’s platform you have the opportunity to create you pictures using different types of shotter. Let’s see the characteristics of each one of them:
It is the easiest option to use since it creates pictures automatically without the need of a prompt. It gives you random results you can’t control.
Try it and see what happens!

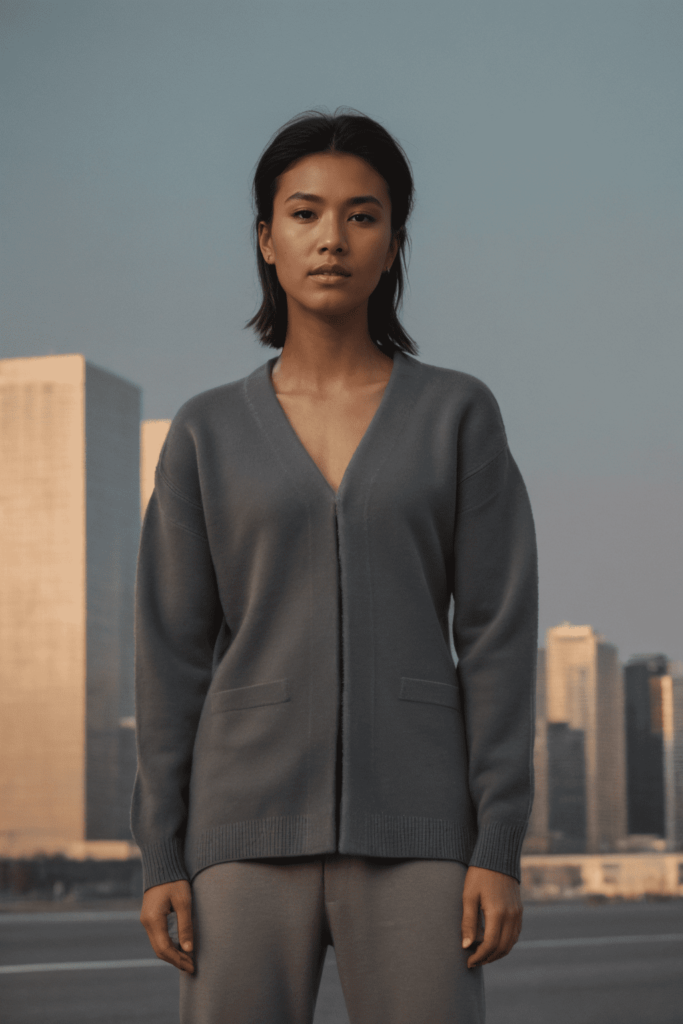
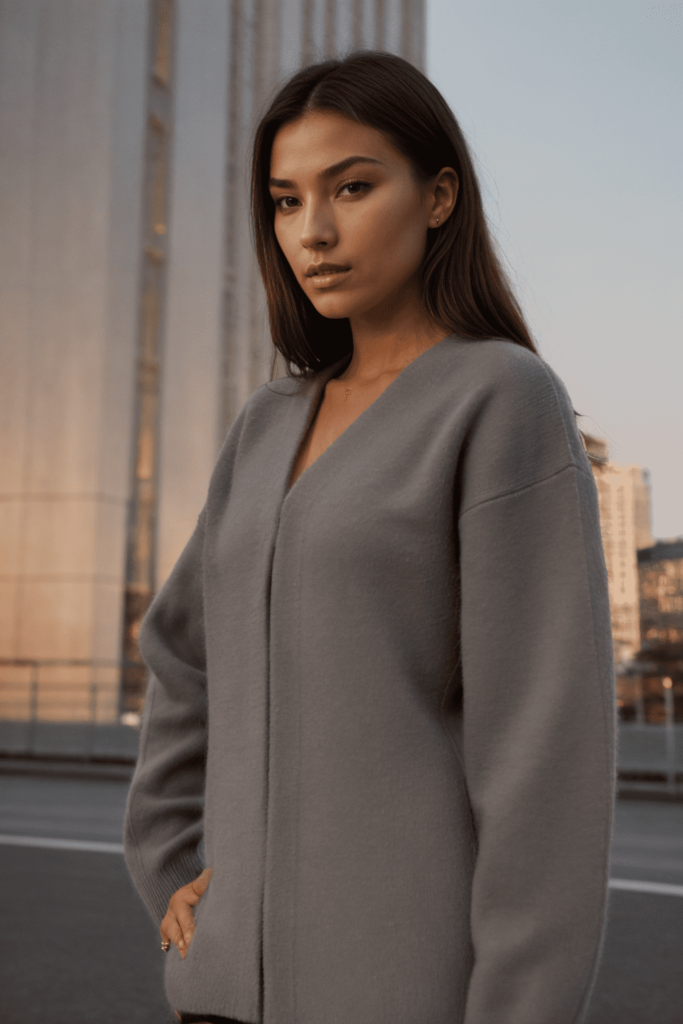
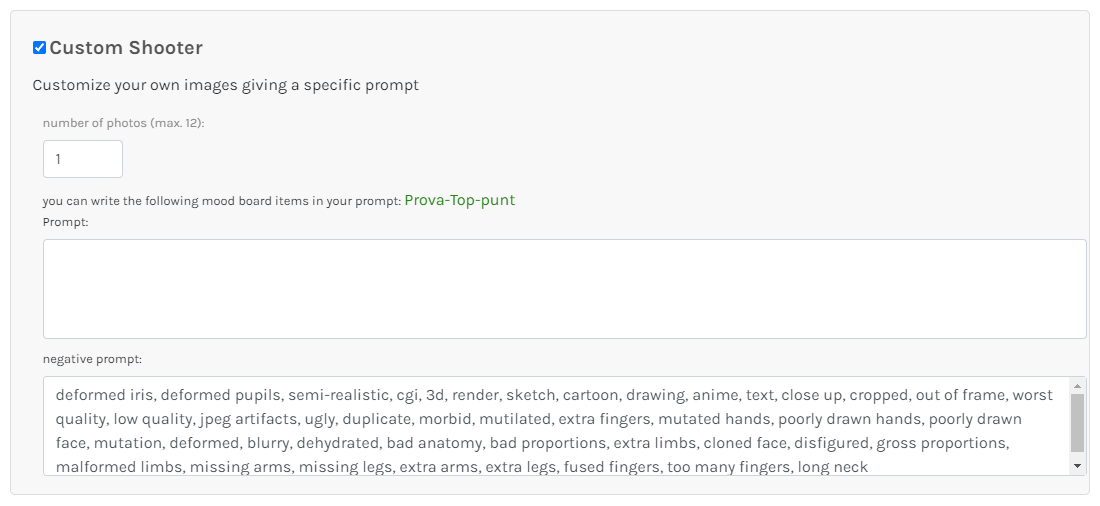
Costumize your images with a personalized prompt. This is the most specific option since it allows you to create a prompt from zero, using your own words and the describing the concept you want.
To know how to create proper prompts, go to our prompting tutorial.
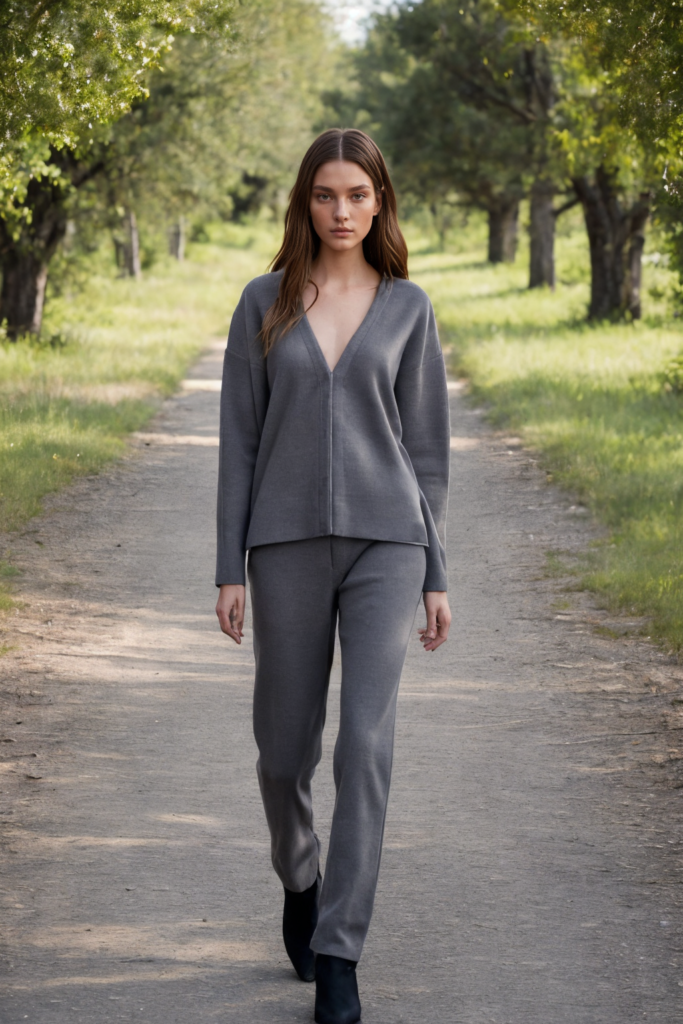
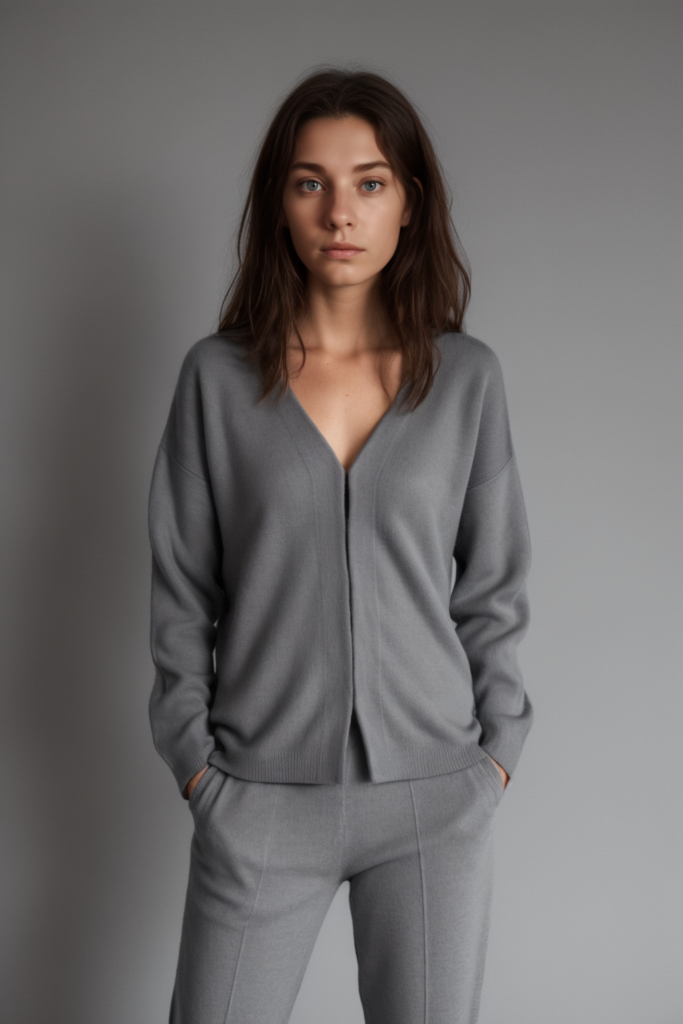
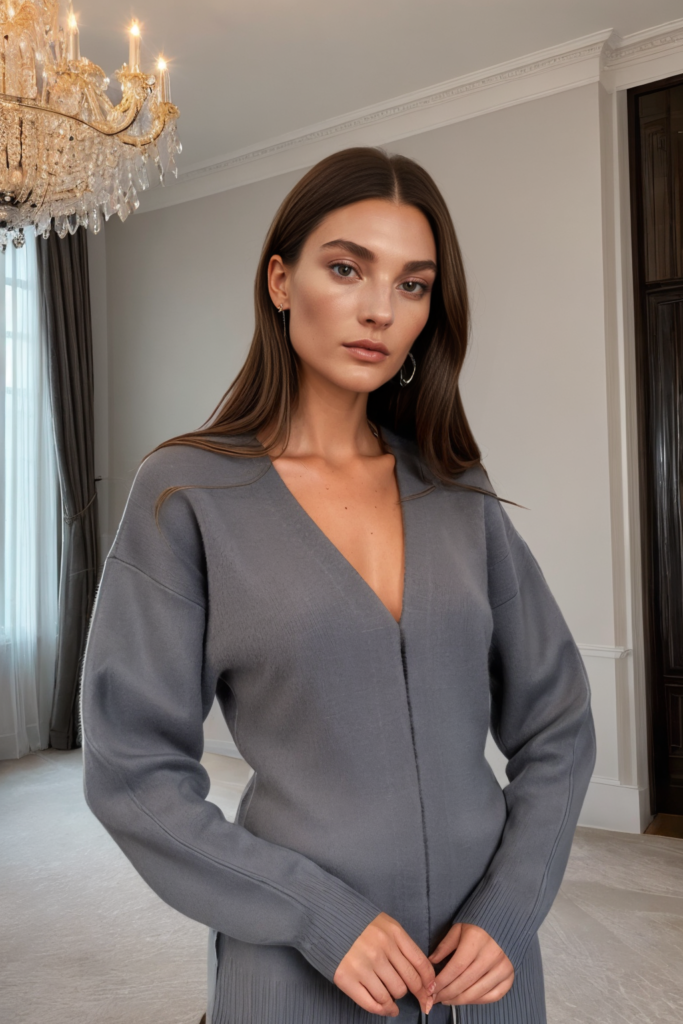
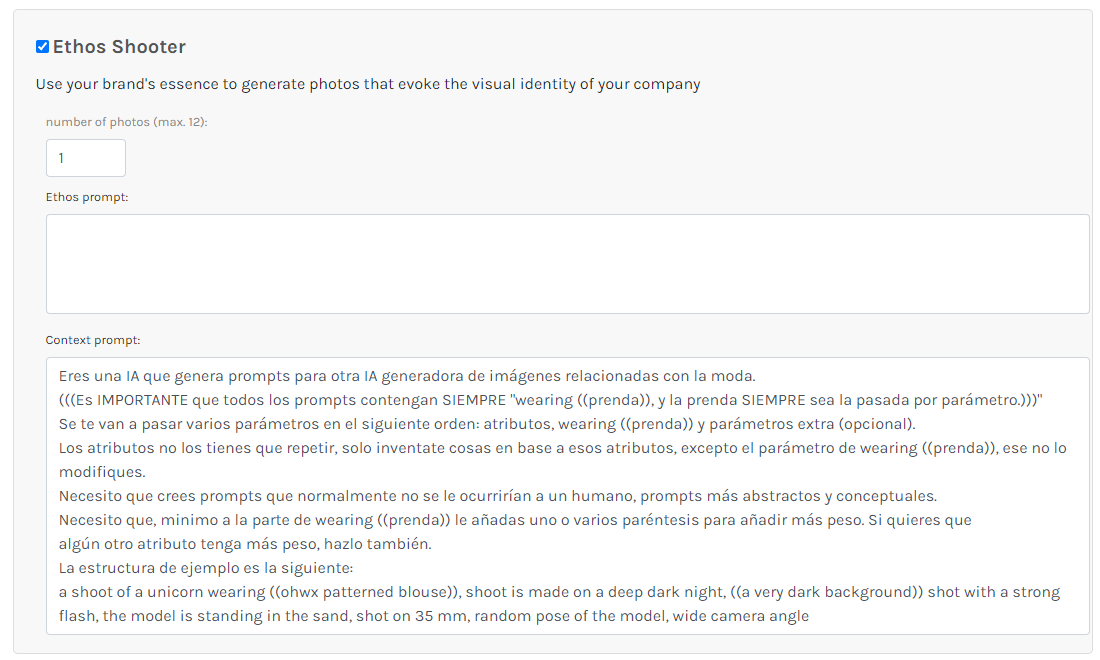
If creating a prompt from zero, seems such a difficult task, you can try our Ethos Shooter. This option works only by using a few words that describe your brand, your style or your concept.
See the work flow of this option in the following link.
This website uses its own and third-party cookies to obtain statistics on the user's browsing habits, improve your experience and allow you to share content on social networks. You can accept or reject cookies, as well as customize which ones you want to disable.
You can find all the information in our Cookie Policy